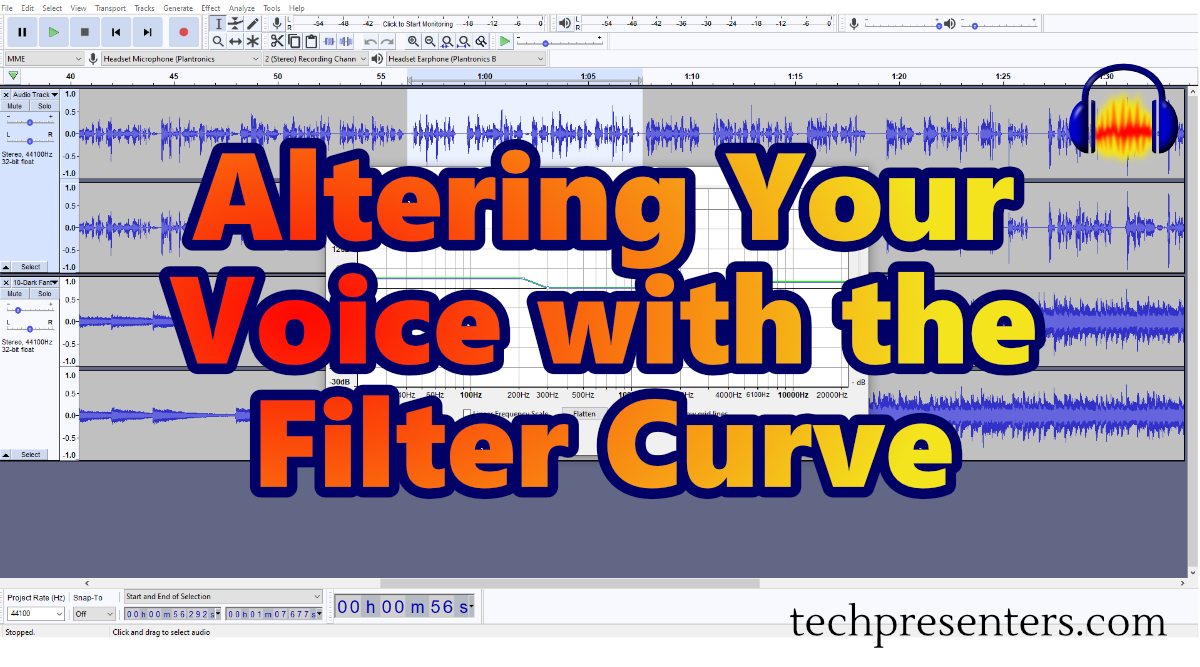
Ever want to alter your voice in a recording?
Let’s face it. Not all of us were born with announcer voices. I certainly wasn’t, but technology can help us out. Here is what I do to change my voice to something I find more pleasing for my video voiceovers.
By using the Filter Curve Effect in Audacity we can alter the the way our voice sounds. We can do this by boosting and reducing certain frequencies. Of course, you can use this for other applications (including music), but I will be focusing specifically on voice overs and show you the settings that I use to make my voice more appealing in my hobby videos.
If you are thinking about doing voiceovers, than hopefully this quick post can help you out.
How to use the Filter Curve in Audacity
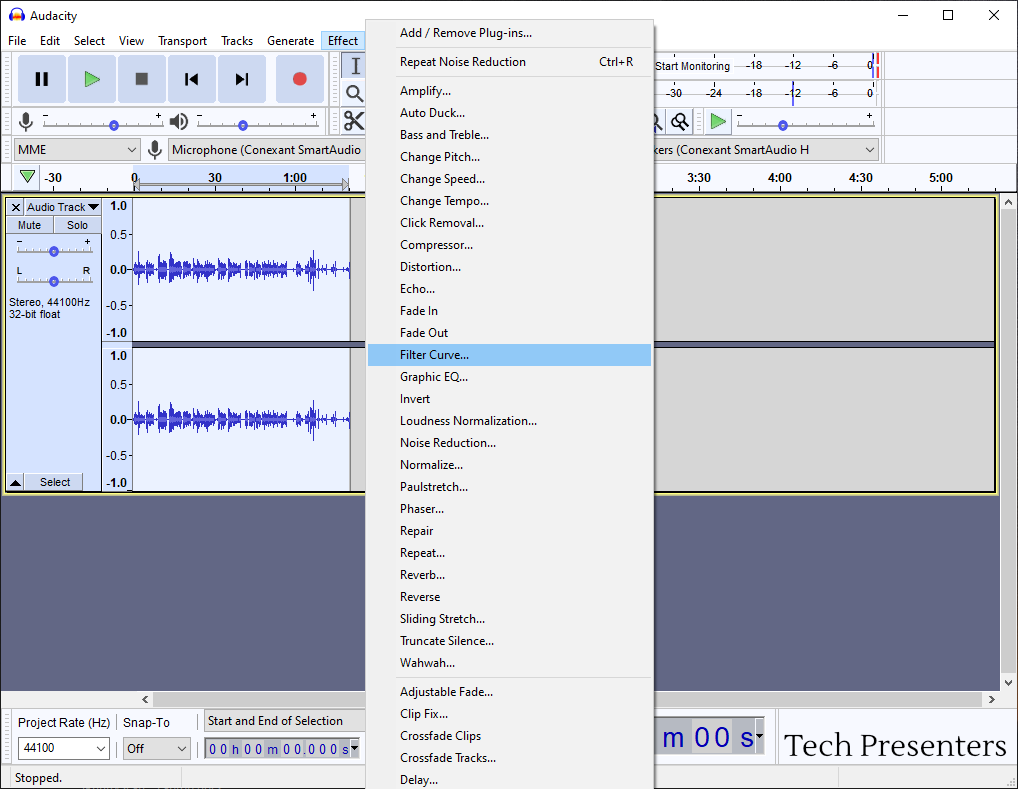
Start by selecting the entire track (or portion of it) that you would like to alter. Again, the easiest way I find to do that is by clicking on the empty blue part of the track on the far right. Then go to “Effect” followed by “Filter Curve”.
This next part you are going to have to play around with and change to work with your voice. The settings below are what I use for my own voice.
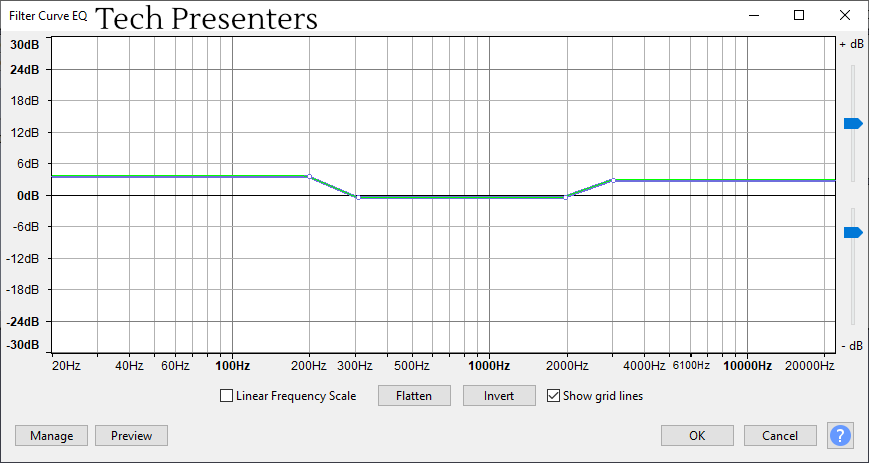
Intelligibility and sound is a complete study upon itself. I boost up the low end at about 200Hz to add some warmth to my voice. I then boost around 2000Hz / 3000Hz to help with intelligibility. Above that, there is some presence in the air good for musicians.
Because I am doing my sound for voiceover work on YouTube videos, I don’t put too much more effort into it than the curve you see above. You can get fancier, but this works for my purposes.
I highly encourage you to test this Filter Curve out with your own voice until you find something that works for you. Feel free to use my settings as a starting point though.
Before you accidently do something destructive, remember to back up your file as a different name to go back to incase you don’t like the changes. Also, the undo button (control and z together) is your friend in this exercise.
Alter Your Voice – Which Frequencies Adjust What for the Human Voice
Below is a quick rundown of what you can expect while you adjust certain frequencies.
The range of 500Hz to 8000Hz is the most important for intelligibility of spoken words. The range of 2000Hz to 4000Hz is generally the best part of this range to focus upon for understanding what is said. Below I get into some more specifics.
- 60Hz – Low End Noise – You can roll these right out to avoid background noise like hum and sometimes even HVAC (air conditioner) noise.
- 100Hz to 300Hz – Bass. Too much sounds “boomy”. Too little produces a thin sound.
- 200Hz to 500Hz – More boomy frequencies. Too much can sound muddy or muffled.
- 500Hz to 2000Hz – Affects intelligibility of vowels.
- 2000Hz to 5000 – Affects intelligibility of consonants.
For best results, try to not boost or reduce the EQ more than 3 to 5dB. I would say 6dB max. Anything more runs the risk to start to sound unnatural.
Recommended Next Articles
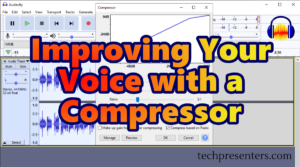
After reading this article, I have a few suggested posts for your next read. For this one, the next article that I recommend is Using the Compressor Effect on Your Voiceover in Audacity.
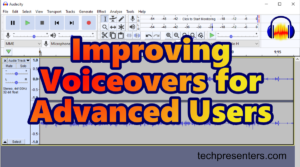
I also have two round up articles with links to multiple posts that will help you in Audacity. One is meant for beginners and the other is meant for more advanced users. You can get to them with the links above or by clicking on the pictures below.
Now, let’s finish up this article.
Bringing it Together…
Thank you for joining me in this post about how to improve your voiceover with the Filter Curve in Audacity. Using an effect to alter your voice is a bit more of an advanced setting to play around with. That said, you might find some settings here that you like to make your voice more appealing.
When you are working with this effect for the first time be sure to experiment on a backed up file before you accidently make a mistake that you don’t like. To find the right settings I used the “Undo” command in the “Edit” menu (Hotkey “Control” and “Z”) a number of times before I found the right mix for me. Once I found the settings I liked, I stuck with them for every recording since.
You can also use the “Preview” button within the effect to sample the altered sound. I tended to apply the filter to everything and if I did not like it, I would just undo what I did.
If you are a beginner, you might want to check out my article about how to record in Audacity.
After I make the recording, I generally apply the Noise Reduction effect before changing my voice using the Filter Curve explained in this article.
For those who are advanced, my next step is usually to apply a compressor to reduce the difference between my quietest and loudest sections of my voice over.
Until next time, Happy Presenting Everyone!!!
Audacity® software is copyright © 1999-2021 Audacity Team.
Web site: https://audacityteam.org/. It is free software distributed under the terms of the GNU General Public License.
The name Audacity® is a registered trademark.
I used version 2.4.2 for the screen shots in this post, but the newest version looks and works the same.
