In this post, I go advanced and talk about using the Compressor Effect for your voice overs in Audacity.
If you are not familiar with the compressor effect, it allows you to change the dynamic range of your sound. What does that mean in English? It lets you compress your highest highs to make them closer together with your lowest lows. You can use this affect to make someone further away sound like they are closer while making it so the person who is closer sounds similar to how they did in the past. You can also use this to make your voice more of a consistent level throughout your recording. Personally, I used this effect to enhance the sound from a cheap microphone when I fist started out.
Of course, if you are creative, you will be able to make more use of this effect. For this post, I will just talk about how I use it for voiceovers and go over a little to how the effect works.
This is a good tool to use if you are looking for a more consistent level of sounds in your recording. If you are not, feel free to skip this step.
At the bottom of the post I link out to my other articles in my series about recording voiceovers in Audacity. Now, let’s talk about the compressor effect.
The Compressor Effect
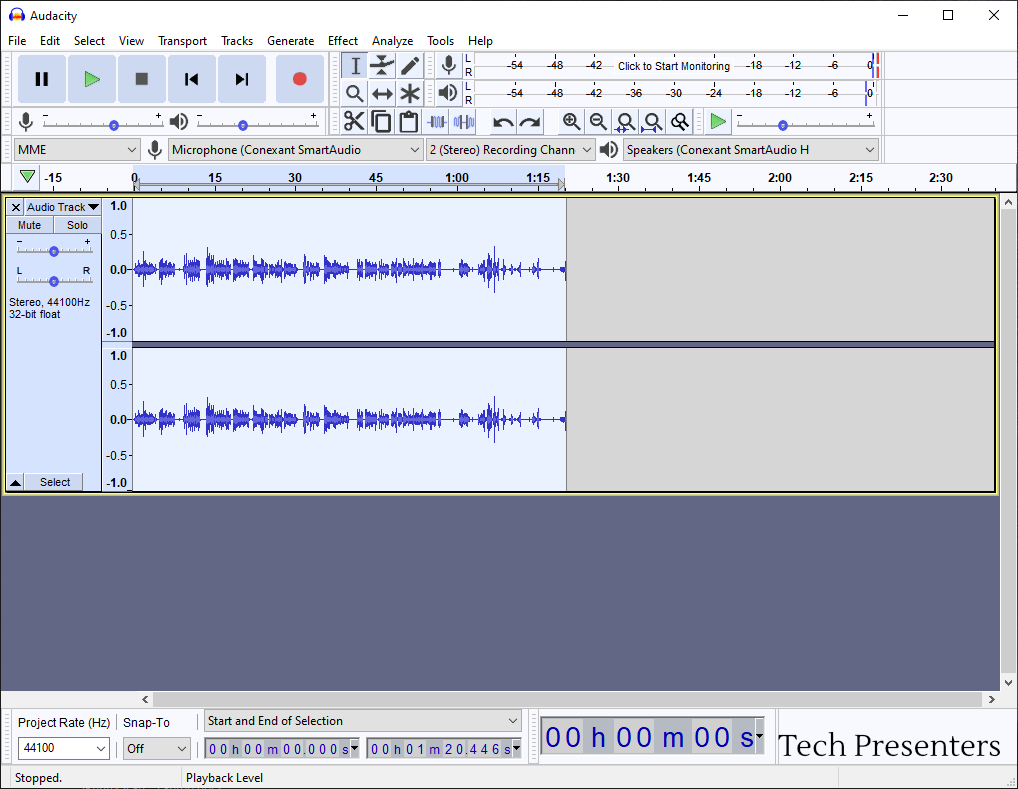
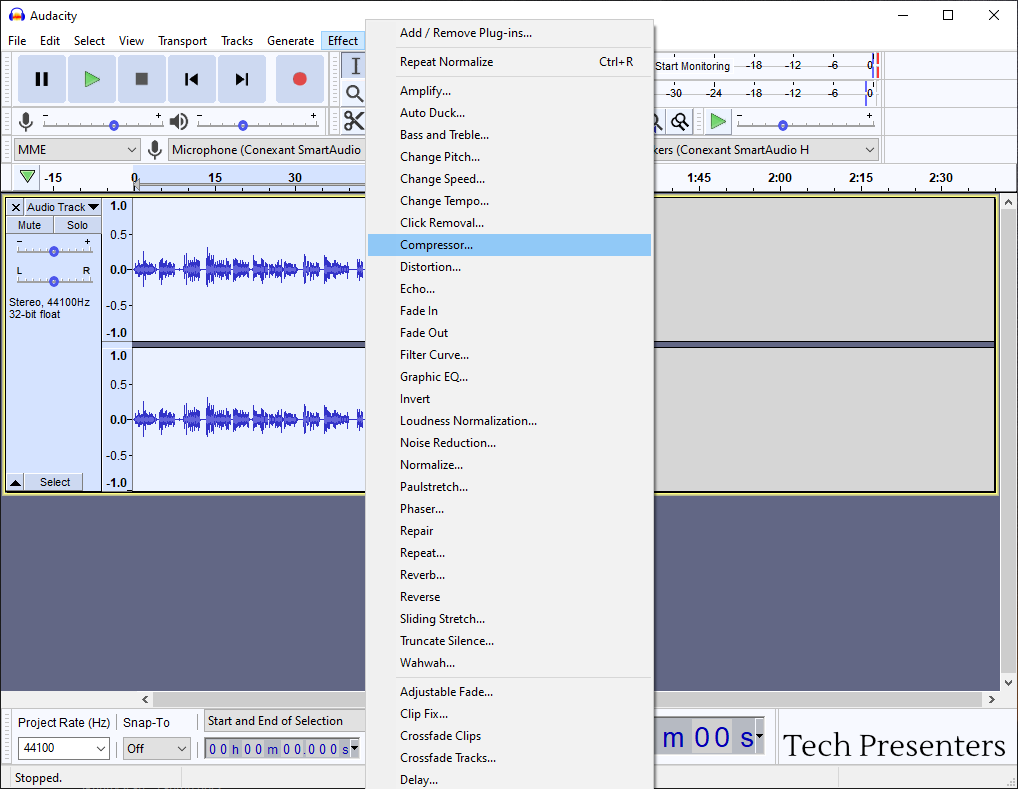
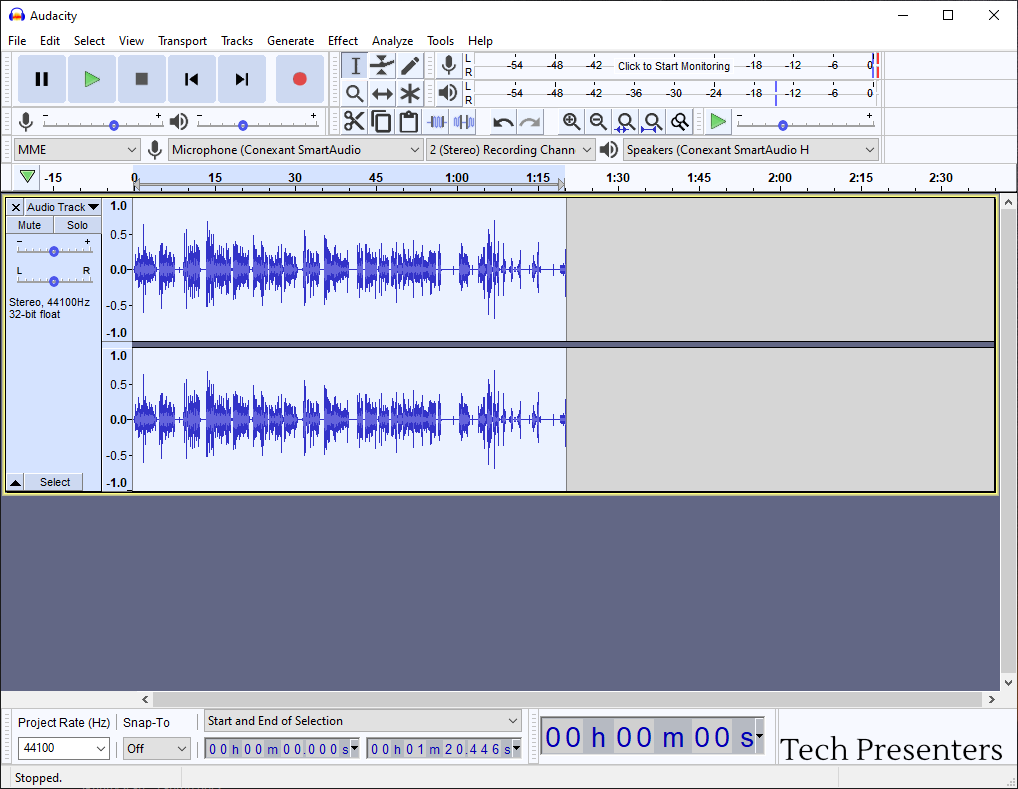
The Audio Compressor can help you reduce the difference between the loudest and quietest parts of your audio. To run this, select your audio to compress and go to “Effect” followed by “Compressor”.
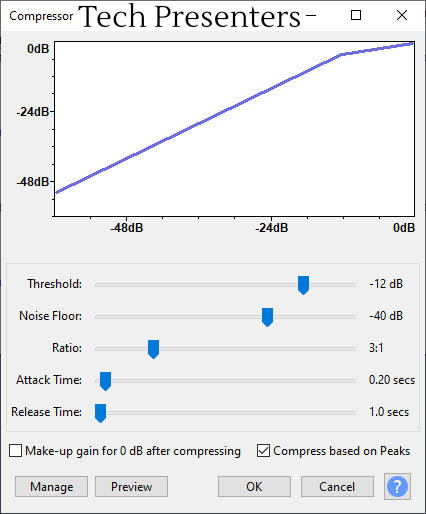
Below are the settings that I use. You can play around with the settings to see what works best for you. Further down below I laid out what each settings does as per the manual.
What do the Compressor Effect Settings Do?
Now, compressors are a little more advanced than what most basic users will want to do. If you are willing to experiment around, you might find some desirable effects. I personally used the compressor to make a cheap gaming microphone sound better for my video voiceovers. If you are also using a cheap microphone, then this might make your quality sound better. That said, this effect could help improve your voice over even if you have a good microphone.
Understanding what each setting does certainly helps. If you don’t quite grasp it, that is okay. Just experiment around, but make sure you back up your work before you start testing things. You don’t want to accidently harm your files and lose hours worth of work. The preview button helps a lot too in figuring out what the changes do to your sound. Press it and Audacity gives you a sample of how your audio will run after you run the compressor.
Now, let’s quickly take a look at what each setting of the compressor does. Below is a page from the online manual.
The Compressor Effect Options as Described in Audacity’s Manual
Threshold: The level above which compression is applied to the audio.
Noise Floor: The compressor adjusts the gain on audio below this background level so as to prevent it being unduly amplified in processing. This is mainly useful when compressing speech, to prevent the gain increasing during pauses and so over-amplifying the background noise.
Ratio: The amount of compression applied to the audio once it passes the threshold level. The higher the Ratio the more the loud parts of the audio will be compressed. The Ratio sets the slope of the blue line on the graph above the threshold.
Attack Time: How soon the compressor starts to compress the dynamics after the threshold is exceeded. If volume changes are slow, you can push this to a high value. Short attack times will result in a fast response to sudden, loud sounds, but will make the changes in volume much more obvious to listeners.
Release Time: How soon the compressor starts to release the volume level back to normal after the level drops below the threshold. A long time value will tend to lose quiet sounds that come after loud ones, but will avoid the volume being raised too much during short quiet sections like pauses in speech.
Make-up gain for 0 dB after compressing: Amplifies the resultant audio in all selected tracks after compression to a peak level of 0 dB. All tracks are amplified by the same amount as in the Amplify effect.
Compress based on Peaks: Base the threshold and gain adjustment on peak values of the waveform rather than the average (RMS) value used when in default (unchecked) state.
The information above comes from this page in Audacity’s online manual.
Recommended Next Articles
After reading this article, I have a few suggested posts for your next read. They are round up articles of the Effects that I use for improving my voiceovers using Audacity.
One is meant for beginners and the other is meant for more advanced users. You can get to them with the links above or by clicking on the pictures below.
Now, let’s finish up this article.
Bringing it Together…
The Compressor Effect within Audacity is a little bit more of an advanced effect to use on your recorded voiceovers and audio files. It works in bringing your loudest points and bringing them in closer to the lower volume levels of your recordings. I used this a lot when I first started creating content to make an “affordable” microphone sound better. You can also use it to make two people taking together sound closer in distance and I am sure creative folks can find many other uses for the effect too.
After I apply the Compressor Effect, I like to run the Normalize Effect on my own and set that value to -1 db.
Until next time, Happy Presenting Everyone!!!
Audacity® software is copyright © 1999-2021 Audacity Team.
Web site: https://audacityteam.org/. It is free software distributed under the terms of the GNU General Public License.
The name Audacity® is a registered trademark.
I used version 2.4.2 for the screen shots in this post, but the newest version looks and works the same.
